Should Digital Printing Thickener Be Added to the Ink? Pretreatment Paste vs. Ink Viscosity Explained
Digital textile printing uses two very different viscosity systems: low-viscosity ink designed for stable jetting...
Digital textile printing uses two very different viscosity systems: low-viscosity ink designed for stable jetting through microscopic printhead nozzles, and higher-structure fabric pretreatment designed to control wetting, penetration, migration and fixation on the textile. Conventional textile thickener should therefore not be added directly to a production ink simply because the printed fabric is bleeding or the ink appears too fluid. Doing so can change viscosity, surface tension, extensional behavior, filtration, droplet formation and printhead reliability. The normal solution is to control the fabric through pretreatment while keeping the ink inside the printhead manufacturer’s jetting window. Specialized polymer-containing or pretreatment-free inks are possible, but they must be engineered and validated as complete ink formulations for the specific printhead.
Should Digital Printing Thickener Be Added to the Ink?
For conventional textile inkjet printing, the answer is usually:
No—do not add a conventional textile pretreatment thickener directly to a finished production ink.
The reason is not simply that the ink would become “too thick.”
Inkjet printing requires the complete ink to be engineered around:
Printhead nozzle geometry
Jetting frequency
Waveform
Viscosidad
Surface tension
Densidad
Filtración
Estabilidad durante el almacenamiento
Changing one ingredient can disturb several of these properties at the same time.
In conventional reactive digital printing, the normal architecture is:
Low-Viscosity Reactive Ink in the Printer + Pretreatment Thickener / Alkali / Moisture-Management Chemistry on the Fabric
This allows the printhead and the textile surface to be optimized separately.
However, specialized inks can contain carefully selected polymers or other rheology modifiers when the entire ink is formulated and validated for the printhead. That is fundamentally different from adding a fabric pretreatment thickener to a commercial ink after manufacture.
Ink Viscosity and Pretreatment Viscosity Solve Different Problems
Digital textile printing uses two separate fluid-engineering problems.
Ink Viscosity
The ink must form repeatable droplets and pass through the printhead reliably.
Pretreatment Viscosity / Rheology
The pretreatment must apply uniformly to fabric and control what happens after the ink droplet lands.
The difference can be summarized as:
Ink Viscosity → Jetting Control
Pretreatment Rheology → Fabric / Droplet Interaction Control
Trying to solve fabric bleeding by heavily increasing ink viscosity can shift the problem from the fabric surface into the printhead.
Why Inkjet Ink Must Remain Low-Viscosity
Inkjet printheads eject very small liquid volumes through very small nozzles at high frequency.
Stable drop-on-demand jetting depends on a balance between:
Viscous forces
Inertia
Surface tension
Nozzle size
Actuation energy
If viscosity becomes too high for the printhead:
Droplet velocity can fall.
Drop volume can change.
Nozzle refill can become slower.
Jetting frequency can become unstable.
Missing nozzles or drop-placement problems can increase.
If the liquid is too low in viscosity or has an unsuitable surface tension, the opposite problems can appear, including satellites, misting or unstable breakup.
The goal is therefore not “lowest viscosity.”
The goal is:
Viscosity + Surface Tension + Density + Waveform Matched to the Specific Printhead.
There Is No Universal Ink Viscosity Number
Published inkjet literature often reports ink viscosities in the single-digit to low-tens mPa·s range, but the acceptable window depends on the printhead and operating temperature.
Therefore, do not create a universal statement such as:
“All textile inks must be 5 mPa·s.”
A professional ink specification should identify:
Printhead family
Ink temperature
Viscosity test method
Surface tension
Filtration requirement
If a commercial ink is already qualified by the ink supplier or printer manufacturer, changing its viscosity independently can invalidate the original jetting balance.
What the Ink Formulation Must Control
A textile inkjet ink can contain:
Dye or pigment
Water / solvent system
Humectants
Surfactants
Dispersants where required
pH-control chemistry
Preservatives / biocide where required
Depending on ink type, specialized polymers or functional modifiers may also be present.
But every addition must remain compatible with:
Jetting
Printhead materials
Almacenamiento
Dye / pigment stability
Droplet formation
This is why ink formulation is a separate technical discipline from preparing a textile pretreatment bath.
What the Pretreatment Must Control
The fabric pretreatment deals primarily with what happens after the droplet reaches the textile.
Depending on dye / pigment route, pretreatment can control:
Ink spreading
Penetración
Surface localization
Moisture behavior
Reactive fixation chemistry
Binder / pigment interaction in selected systems
For reactive digital printing, pretreatment commonly carries:
Migration-control polymer
Alkali
Urea or another moisture-management component
Other auxiliaries as required
This keeps high-molecular-weight thickener chemistry away from the printhead while placing it where migration control is needed: on the fabric.
Why Thickener Is Usually Put on the Fabric
The low-viscosity ink must move through the nozzle.
Once it reaches an absorbent textile, that same fluidity can allow:
Lateral wicking
Deep penetration
Loss of line definition
Fabric pretreatment solves this conflict by separating two requirements:
Inside the Printhead → Low-Viscosity, Stable Ink
On the Fabric → Controlled Surface Rheology / Wetting / Fixation
This is one of the fundamental reasons digital textile printing does not simply use a conventional screen-printing color paste inside an inkjet printer.
Why Low-Viscosity Ink Does Not Mean the Ink Is “Too Thin”
A customer may see bleeding and conclude:
“The ink is too thin; add thickener.”
But in inkjet printing, low viscosity is often a required printhead condition.
Bleeding may instead originate from:
Insufficient pretreatment polymer
Uneven pretreatment add-on
High residual fabric moisture
Capacidad de absorción del tejido
Excess ink load
Poor drying control
The correct question is:
Does the Ink Jet Correctly, and Does the Pretreated Fabric Control the Droplet Correctly?
These should be diagnosed separately.
What Can Happen If Conventional Thickener Is Added Directly to Ink?
Adding a textile pretreatment thickener can change several ink properties simultaneously.
The risk depends on:
Polymer type
Molecular weight
Posología
Química de la tinta
Printhead
The main concerns are discussed below.
1. Ink Viscosity Can Move Outside the Jetting Window
The obvious effect of adding thickener is higher viscosity.
But the increase may be:
Nonlinear
Temperature-dependent
Time-dependent
Shear-dependent
A polymer may produce a modest laboratory viscosity increase but behave very differently at the high deformation rates involved in droplet ejection.
This is why one rotational-viscosity measurement cannot prove printhead compatibility.
2. Surface Tension Can Change
Stable droplet formation depends on both viscosity and surface tension.
A thickener or polymer additive may:
Interact with surfactants
Change solvent organization
Alter wetting
Change dynamic surface tension
Therefore, “matching viscosity” does not guarantee the same droplet behavior.
Any modified ink needs viscosity and surface-tension evaluation together.
3. Extensional Rheology and Stringing Can Change
Inkjet droplet formation involves stretching of the liquid filament before breakup.
Polymer molecules can strongly affect this extensional response.
Possible consequences include:
Long liquid tails
Satellite droplets
Stringing
Unstable breakup
Two inks with the same shear viscosity can therefore jet differently if their polymer elasticity differs.
This is one reason conventional high-molecular-weight textile thickener should not be treated as a simple viscosity adjustment for ink.
4. Filtration and Nozzle Reliability Can Change
Printhead reliability requires very clean ink.
Conventional pretreatment thickeners can create:
Partículas de gel
Incomplete hydration particles
Polymer aggregates
Contaminant retention
Even when these are small enough to pass a coarse textile filter, they may be unacceptable for an inkjet nozzle system.
Ink filtration requirements should be defined by the ink / printhead supplier.
5. Dye / Pigment Compatibility Can Change
Polymers can interact with colorants through:
Electrostatic attraction
Hydrogen bonding
Hydrophobic interaction
Depletion / association effects
This can change:
Dye aggregation
Pigment dispersion
Viscosidad
Color strength
Estabilidad durante el almacenamiento
Therefore, a thickener that is stable in water is not automatically stable in a concentrated ink formulation.
6. Ink Storage Stability Can Change
A modified ink may look printable immediately after mixing but drift during storage.
Possible changes include:
Aumento de la viscosidad
Disminución de la viscosidad
Separación
Colorant aggregation
Gel formation
Microbial instability
Commercial ink development therefore requires accelerated and real-time storage testing.
This is far beyond a quick on-machine viscosity adjustment.
7. Printhead Waveform May No Longer Be Correct
Drop-on-demand printheads use electrical waveforms designed around fluid properties.
If viscosity, surface tension or density changes, the original waveform may no longer produce the same:
Drop velocity
Drop volume
Tail breakup
Jetting frequency
This is another reason ink modification must be treated as full ink engineering rather than a fabric-chemistry adjustment.
Pretreatment Thickener Has a Different Rheological Job
Pretreatment thickener does not need to pass through the inkjet nozzle.
Its main rheological job is to help create a controlled textile surface.
Depending on application method, the pretreatment should provide suitable:
Flow
Wetting
Penetración
Surface hold
Shear thinning
Recuperación estructural
For route-specific rheology, review Digital Textile Printing Pretreatment and the FSX guide on pretreatment viscosity versus padding, coating and spray.
Pretreatment Film Formation and Ink Localization
After application and drying, the pretreatment polymer can create a surface or near-surface structure that changes how the ink droplet spreads.
A useful pretreatment can:
Reduce excessive lateral migration
Control penetration
Increase image sharpness
Support higher surface color concentration
Research comparing different pretreatment polymers has shown that film structure and rheological behavior can materially affect inkjet color strength and edge sharpness.
This fabric-side control is the normal role of textile digital-printing thickener.
Reactive Inkjet: Why Alkali Usually Belongs in Pretreatment
Reactive dyes need alkaline conditions for efficient bonding with cellulose.
But strongly alkaline ink can create storage and printhead compatibility challenges.
Therefore, conventional reactive inkjet systems normally place the alkali on the fabric.
This allows:
Ink → Jetting / Storage Stability
and:
Fabric → Fixation Chemistry
to be controlled separately.
Specialized pretreatment-free research inks can use different pH-control strategies, but those are purpose-designed ink systems.
Reactive Inkjet: Why Moisture-Management Chemistry Is Usually in Pretreatment
Conventional reactive pretreatment may also contain urea or another moisture-management system.
Its function is related to:
Moisture retention
Dye solubility
Hinchazón de la fibra
Dye diffusion during steaming
Putting the full conventional pretreatment package inside the ink would change:
Ink viscosity
Ionic load
pH
Jetting stability
which is why the functions are normally separated.
Same Viscosity Does Not Mean Ink and Pretreatment Are Interchangeable
Suppose:
Ink A = 8 mPa·s
and:
Pretreatment B Diluted to = 8 mPa·s
They are still not equivalent fluids.
They can differ in:
Molecular weight distribution
Surface tension
Densidad
Extensional viscosity
Elasticity
Filtración
Ionic strength
Compatibilidad de los colorantes
Therefore, “diluting the thickener until the ink viscosity looks correct” is not a valid ink-design method.
Impresión digital reactiva
For conventional reactive inkjet printing on cotton, viscose or lyocell, the most common architecture is:
This separation should be the default starting point unless the ink supplier explicitly provides a pretreatment-free or integrated chemistry.
Impresión digital por dispersión
Disperse dye inkjet printing also requires a low-viscosity ink compatible with the printhead.
Depending on direct-to-fabric or transfer route, fabric pretreatment can be used to control:
Ink spreading
Penetración
Migration before thermofixation
Do not assume a reactive pretreatment thickener can be added directly to a disperse ink.
Dye dispersion, solvents and printhead requirements are different.
Impresión digital con tintas pigmentadas
Pigment digital inks contain dispersed pigment particles and may also involve binder chemistry depending on the system.
This makes filtration, dispersion stability and particle size especially important.
A conventional textile thickener added directly to pigment ink can disturb:
Pigment dispersion
Binder / dispersant balance
Viscosidad
Jetting
Some industrial pigment inks are purpose-formulated with polymeric components, but these must be engineered as part of the complete ink.
Thickener ≠ Binder.
A binder forms the film that fixes pigment to the textile during curing; thickener primarily controls rheology and migration.
Are There Exceptions Where Polymers Are Added to Ink?
Yes.
Ink formulators can intentionally use:
Low-molecular-weight polymers
Polymeric dispersants
Rheology modifiers
Functional polymers
when they remain within the required jetting window.
Published inkjet research includes inks where polymers were intentionally added to change viscosity, droplet behavior or substrate interaction.
But the important distinction is:
Purpose-Designed Ink Polymer ≠ Conventional Textile Pretreatment Thickener Added After the Ink Is Manufactured.
The former is part of a complete ink-development program.
The latter can create uncontrolled printhead risk.
Pretreatment-Free Reactive Inks: Why They Are Different
Recent research has developed reactive inks that integrate functions normally placed in the fabric pretreatment.
Examples include systems using:
Specialized cellulose-compatible polymers
Thermally responsive pH control
Cationic / functional dye modification
These studies show that pretreatment-free reactive printing is technically possible.
But they do not support the idea that a mill should add its current pretreatment thickener directly into a commercial reactive ink.
The integrated ink must still meet:
Viscosidad
Surface tension
Drop formation
Estabilidad durante el almacenamiento
Printhead compatibility
simultaneously.
How to Answer a Customer Who Wants to Add Thickener to Ink
A useful technical response is:
“For conventional digital textile printing, we normally recommend controlling spreading through the fabric pretreatment rather than adding textile thickener directly to the ink. Ink viscosity must remain within the printhead’s jetting specification. If you want to modify the ink itself, we would first need the printhead model, current ink viscosity / surface tension and ink chemistry because that becomes an ink-formulation project rather than a normal pretreatment adjustment.”
This separates:
A fabric pretreatment problem
An ink formulation problem
before any recommendation is made.
A Practical Decision Tree
Problem: Printed Image Bleeds or Penetrates Too Much
Step 1: Does the ink jet correctly?
If no → investigate ink / printhead / waveform.
If yes → continue to fabric pretreatment.
Step 2: Is pretreatment add-on correct and uniform?
If no → correct padding / coating / spray application.
If yes → continue.
Step 3: Is residual moisture controlled?
If no → optimize drying.
If yes → continue.
Step 4: Is pretreatment polymer / rheology sufficient for the fabric and ink load?
If no → optimize pretreatment.
If yes → inspect ink load, fabric and downstream fixation.
Only move to ink reformulation if evidence points to the ink itself.
How to Evaluate the Ink Side
For ink-related troubleshooting, record:
Printhead model
Ink type
Ink viscosity at defined temperature
Surface tension
Jetting temperature
Nozzle check
Drop / satellite behavior where equipment allows
Storage / age of ink
If the ink is a commercial approved ink and nozzle checks are stable, avoid modifying it before the pretreatment side has been evaluated.
How to Evaluate the Pretreatment Side
Registro:
Pretreatment product
Posología
Viscosity and full test method
Application method
Wet pick-up / coating / spray add-on
Fabric type / GSM
Condiciones de secado
Residual moisture
Steaming / fixation route
Then compare:
Fine-line width
Bleeding
Penetración
Post-wash K/S
Solidez
This determines whether the problem can be solved without changing the ink.
Bleeding Diagnostic: Ink Problem or Pretreatment Problem?
Observation
First Direction to Check
Nozzle test unstable / missing jets
Ink / printhead
Nozzle test stable but all fabrics bleed
Ink load / ink wetting / pretreatment interaction
Same ink prints sharp on one pretreatment and bleeds on another
Excessive penetration can make the face look weak even when the total ink amount is correct.
Compara:
Face-side K/S
Reverse-side show-through
Definición de líneas finas
If a new pretreatment increases surface localization while the ink remains unchanged, this confirms that the fabric side—not ink viscosity—was the primary control lever.
Color-Yield Diagnostic
Color yield can be influenced by:
Ink concentration
Ink penetration
Pretreatment polymer
Fijación
Se enjuaga
A darker unwashed print does not automatically mean higher fixation.
Use post-wash K/S and fastness to judge the complete system.
Do not raise ink viscosity simply because post-wash K/S is low.
First determine whether the dye is penetrating too deeply or failing to fix.
Nozzle / Jetting Diagnostic
Signs that the problem may be on the ink side include:
Frequent missing nozzles
Unstable drop velocity
Satellite droplets
Misting
Viscosity drift
Filter / nozzle contamination
If these appear after an ink modification, stop treating the change as a fabric-pretreatment experiment.
The ink should be returned to a controlled formulation and evaluated by the ink / printer technical team.
Ink vs. Pretreatment Comparison Table
Area
Tinta
Pretratamiento
Primary purpose
Deliver dye / pigment through printhead
Prepare fabric surface and fixation environment
Viscosity priority
Jetting / drop formation
Application / migration control
Typical structure
Low-viscosity jettable fluid
Higher-structure solution / paste depending route
Critical rheology
Shear + extensional jetting behavior
Flow + wetting + penetration + recovery
Filtration priority
Extremely high for nozzle reliability
High for application reliability
Reactive alkali
Usually minimized / controlled for ink stability
Commonly supplied by fabric pretreatment
Migration thickener
Normally not conventional textile thickener
Core pretreatment function
Final qualification
Jetting + storage + print quality
Application + print + fixation + wash-off
Recommended Laboratory Workflow
Do not modify the commercial ink first.
Record printhead model, ink type and ink viscosity / surface tension if available.
Confirm nozzle check and jetting stability.
Freeze the ink settings for the pretreatment trial.
Prepare several controlled pretreatment polymer / add-on levels.
Apply by the intended padding, coating or spray route.
Control drying and residual moisture.
Print fine lines, gradients and high-ink-load blocks.
Fix and wash using one standardized route.
Compare bleeding, penetration, post-wash K/S and fastness.
If the pretreatment cannot solve the problem and jetting / ink evidence points to the ink, escalate to a formal ink-formulation study.
Pigment ink becomes unstable after adding thickener
Dispersion / binder / polymer compatibility
The pigment concentration is the cause
Post-wash color is weak although printing is sharp
Fixation chemistry, steaming / curing, wash-off
Ink viscosity controls fixation
Costo total de uso
Adding thickener directly to ink can appear to be a simple shortcut, but the commercial risk can include:
Printhead cleaning
Nozzle loss
Ink waste
Machine downtime
Color inconsistency
A more useful model is:
Total Cost in Use = Ink + Pretreatment + Printer Reliability + Drying / Fixation + Washing + Downtime + Rework + Quality Loss
Keeping jetting chemistry in the ink and migration / fixation chemistry in the pretreatment often allows each side to be optimized independently.
Specialized integrated inks can be commercially attractive, but they should be purchased or developed as complete qualified systems.
What Information Should You Send to a Supplier?
If a customer asks whether thickener should be added to ink, first provide:
Printer / printhead model
Ink type: reactive, disperse or pigment
Current ink supplier / TDS if available
Ink viscosity / surface tension if available
Fabric composition / construction / GSM
Current pretreatment product / TDS
Pretreatment viscosity / dosage
Application route
Wet / dry add-on
Drying / residual moisture
Main defect: bleeding, penetration, low color, nozzle issue or fixation
FSX Chemical puede utilizar esta información a través de Muestras y combinación to determine whether the practical correction belongs on the fabric side.
Ink viscosity is designed primarily for printhead jetting; pretreatment viscosity is designed primarily for fabric application and droplet control.
Conventional textile pretreatment thickener should not be added directly to a finished production ink without full ink reformulation and printhead qualification.
Bleeding and penetration should first be diagnosed on the fabric side when the ink jets normally.
Same rotational viscosity does not mean two fluids have the same surface tension, elasticity, filtration or jetting behavior.
Specialized polymer-containing and pretreatment-free inks are possible, but they are purpose-engineered ink systems rather than ad-hoc thickener additions.
The best process keeps the ink inside a stable jetting window while using pretreatment to create the required fabric-side migration, fixation and color-yield window.
Preguntas frecuentes
1. Should textile printing thickener be added directly to reactive inkjet ink?
Normally no. Conventional reactive inkjet systems use low-viscosity ink and put migration-control thickener and fixation auxiliaries in the fabric pretreatment.
2. Why not add a little thickener if the ink is bleeding?
Because even a small polymer addition can change viscosity, surface tension, extensional behavior, filtration and droplet formation. Diagnose the pretreatment first when jetting is stable.
3. What viscosity should reactive ink have?
There is no universal number. The acceptable viscosity depends on printhead design, operating temperature, waveform and ink formulation. Follow the ink / printhead specification.
4. Is pretreatment paste supposed to have the same viscosity as the ink?
No. They perform different jobs. Ink viscosity supports jetting; pretreatment rheology supports fabric application, migration control and fixation chemistry.
5. Can low ink viscosity cause bleeding?
Low viscosity contributes to the high mobility of inkjet droplets, but it is often required for jetting. Fabric pretreatment is normally used to control the droplet after impact.
6. Can polymers ever be added to inkjet inks?
Yes, when the polymer is intentionally selected and the entire ink is formulated and qualified for the printhead. This is different from adding conventional textile thickener to finished ink.
7. What is a pretreatment-free reactive ink?
It is a specially engineered ink that incorporates functions normally provided by fabric pretreatment, such as wetting / penetration control or fixation chemistry, while still meeting jetting requirements.
8. Can sodium alginate be added to a reactive ink?
Do not add conventional sodium alginate pretreatment thickener to a commercial reactive ink unless the ink is being formally reformulated and qualified. Alginate can strongly change rheology and filtration behavior.
9. Can CMC be added to digital ink?
CMC can be used as a polymer in specially designed formulations, but a textile-grade CMC should not be added to finished ink simply to increase viscosity. Molecular weight, purity, rheology, filtration and printhead compatibility must be validated.
10. Does pigment digital ink need thickener?
Pigment inks may contain purpose-designed rheology modifiers and binder/dispersant systems, but conventional textile thickener should not be added casually. Thickener and binder perform different functions.
11. How can I tell whether bleeding comes from ink or pretreatment?
Confirm nozzle and jetting stability, then compare the same ink on controlled pretreatment levels. If bleeding changes strongly with pretreatment while jetting is stable, the fabric side is the stronger control variable.
12. What should I send FSX Chemical for digital-printing bleeding or penetration troubleshooting?
Send the printhead, ink type/TDS, fabric, current pretreatment/TDS, viscosity method, application add-on, drying conditions and the exact bleeding, penetration, color or jetting issue.
Keep Ink Jettable and Control the Fabric with Pretreatment
If your digital textile print shows bleeding, deep penetration or weak surface color, FSX Chemical can help determine whether the correction belongs in the fabric pretreatment rather than the ink.
Empieza con Muestras y combinación and provide your current ink, fabric and pretreatment conditions.
The safest technical principle is to keep the ink inside the printhead’s validated jetting window and use the pretreatment to control textile wetting, migration, penetration and fixation. If polymer functions are to be moved into the ink, the ink should be redesigned and qualified as a complete printhead-compatible formulation rather than modified by adding conventional textile thickener.
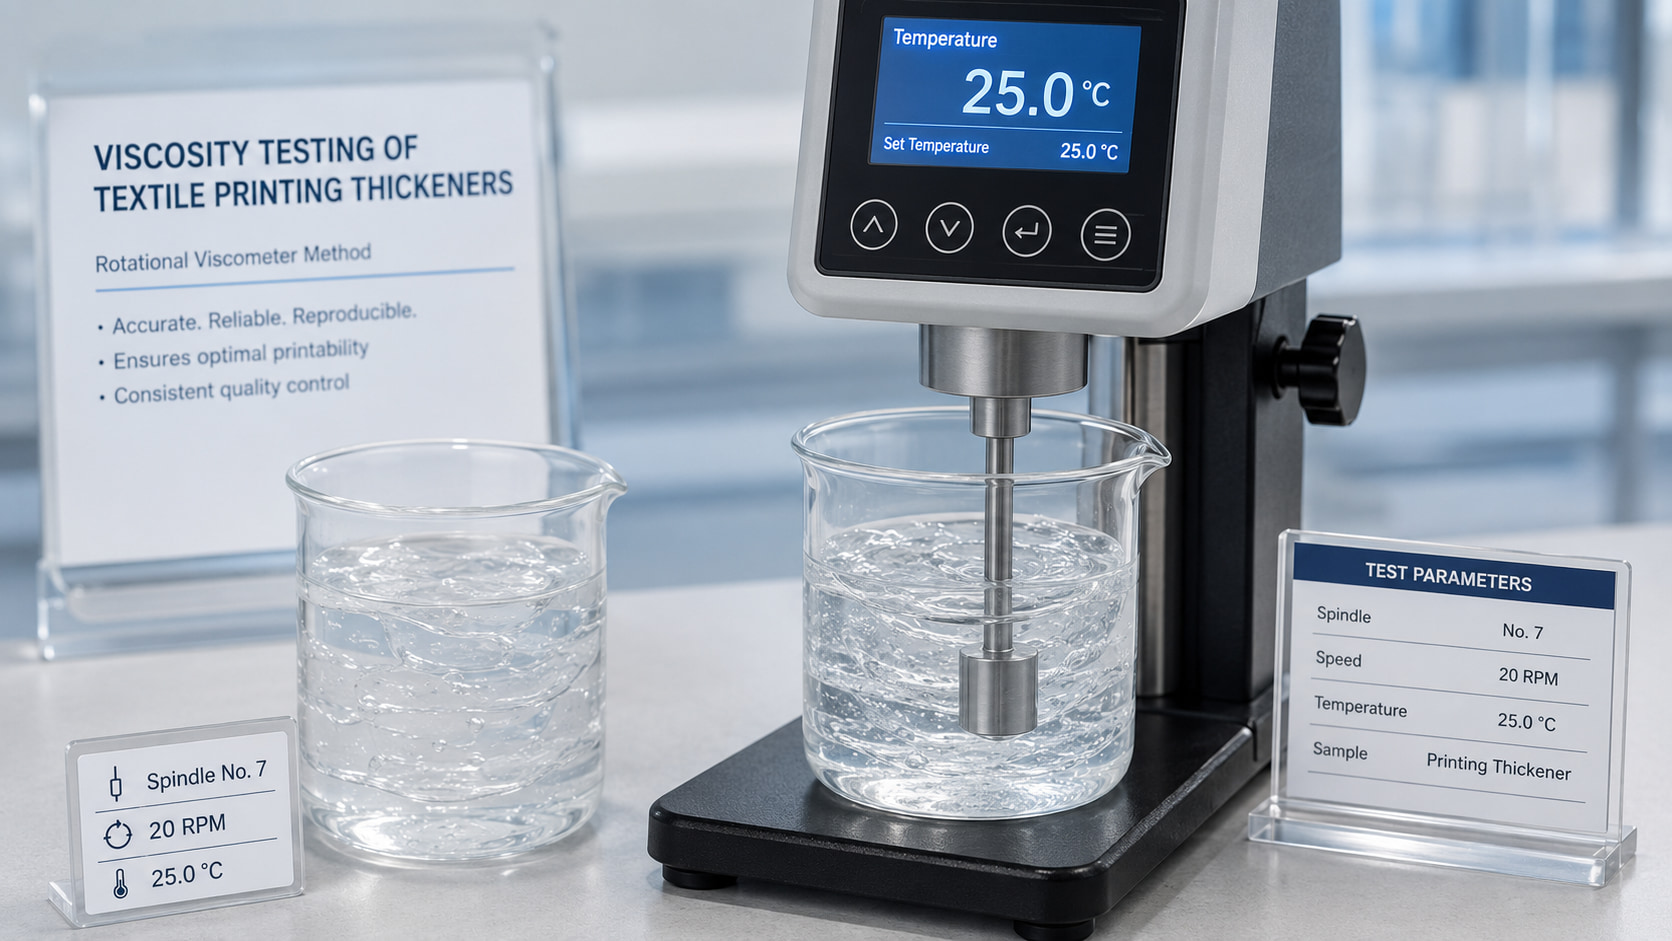
Descubre por qué no se pueden comparar los valores de viscosidad de los espesantes para la impresión textil sin tener en cuenta la concentración, la temperatura, el instrumento, el husillo, la velocidad, el método de preparación y el tiempo de prueba.
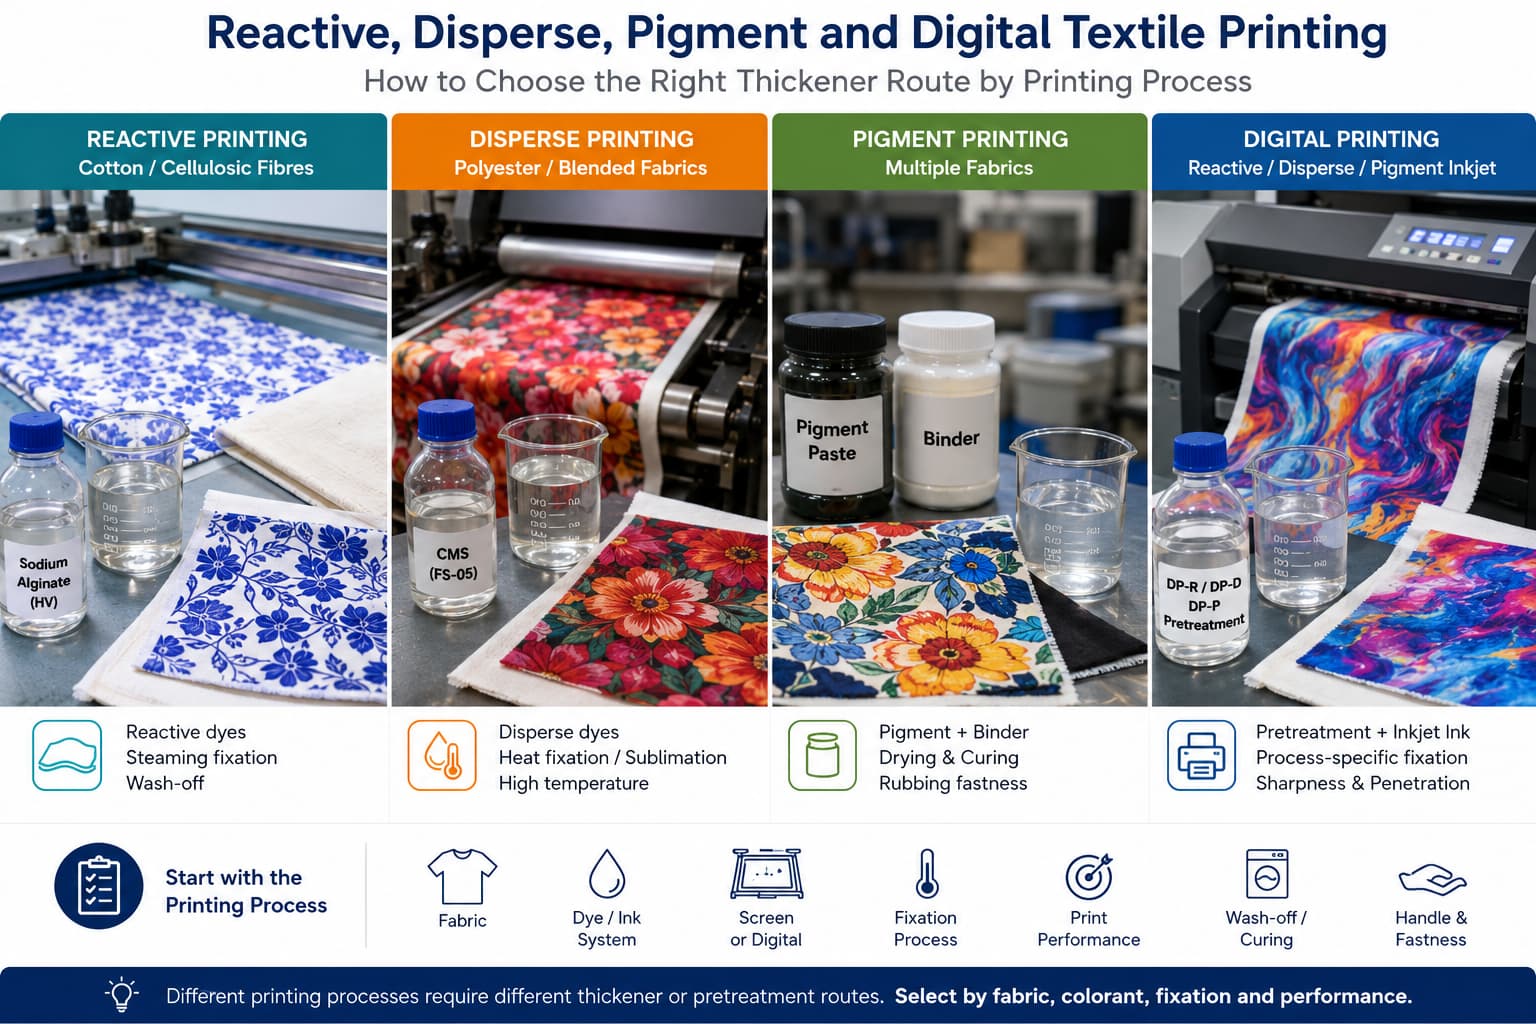
Aprende a elegir espesantes y métodos de pretratamiento para la impresión textil reactiva, dispersa, con pigmentos y digital, según los requisitos del tejido, el colorante o la tinta, la fijación, la resistencia al lavado y la calidad de impresión.
Compara CMC, CMS, alginato de sodio y pasta para impresión digital en la impresión textil. Descubre cómo cada opción se adapta a los procesos reactivos, dispersos, pigmentados y digitales, y qué deben tener en cuenta los compradores antes de realizar pruebas de muestras, comparar calidades y realizar compras a granel.
El alginato de sodio se utiliza ampliamente en la impresión textil como espesante estable y lavable para las pastas de impresión reactivas. Descubre cómo evaluar el grado de viscosidad, la pureza y la idoneidad para cada aplicación antes de comprar, y cómo FSX Chemical apoya a los compradores de todo el mundo con datos técnicos y muestras.
La carboximetilcelulosa (CMC) se utiliza ampliamente en los procesos de estampado, encolado y teñido de textiles. En esta guía se explica cómo evaluar los distintos grados de CMC, qué parámetros son los más importantes y cómo FSX Chemical puede ayudarte a tomar decisiones de compra.
La carboximetilcelulosa se utiliza como espesante y estabilizador en tintas a base de agua, impresión en huecograbado y pretratamiento para impresión de chorro de tinta. Esta guía aborda los parámetros clave de los grados y las consideraciones de abastecimiento para los equipos de compras.
Tanto el alginato de sodio como la CMC se utilizan como espesantes en la impresión textil, pero se adaptan a diferentes sistemas de tinte y condiciones de proceso. Esta guía explica las diferencias clave y cuándo utilizar cada uno.
La impresión digital por inyección de tinta sobre textiles tiene requisitos distintos en cuanto a pastas y pretratamiento en comparación con la serigrafía. Esta guía explica cómo se utiliza el alginato de sodio en la impresión textil digital y qué parámetros de calidad deben especificar los equipos de compras.
El CMC de grado alimenticio y el de grado industrial comparten la misma composición química básica, pero difieren significativamente en cuanto a pureza, rango de DS y requisitos normativos. Esta guía explica las diferencias clave y por qué el uso de un grado incorrecto genera problemas de producción.
La preparación correcta de la pasta es tan importante como la selección del grado en la impresión textil con tintes reactivos. Esta guía aborda los métodos de disolución del alginato de sodio, los rangos de concentración según la aplicación, las condiciones de almacenamiento y cómo resolver problemas comunes en la preparación.
El alginato de sodio es un polímero natural y biodegradable, pero su uso en la impresión textil genera aguas residuales que requieren un tratamiento adecuado. Esta guía aborda el perfil ambiental del alginato de sodio, las características de los efluentes de lavado y lo que los equipos de compras deben saber sobre la elección de espesantes y el impacto ambiental.
La tasa de fijación del colorante afecta directamente al rendimiento del color, a la solidez al lavado y a la carga de aguas residuales en la estampación con colorantes reactivos. Esta guía explica cómo el alginato de sodio favorece la fijación del colorante, qué parámetros de la pasta influyen en la tasa de fijación y cómo resolver los problemas de baja fijación en la producción.
Comparta el nombre del producto, su aplicación, la cantidad, el destino y cualquier ficha técnica (TDS),
foto de muestra o documento que ya tenga. FSX Chemical revisará la
información y le recomendará el siguiente paso para la cotización, la comparación de muestras
o la selección del producto.
Información del productoNombre del producto, categoría, modelo, foto de la etiqueta o referencia del proveedor.
Documentos disponiblesTDS, SDS, COA, foto de muestra, lista de productos o datos de pruebas.
Detalles del pedidoCantidad estimada, embalaje, país de destino, puerto o término comercial.
Solicitud o problemaProceso de impresión textil, requisitos de formulación, problema actual o objetivo de rendimiento.